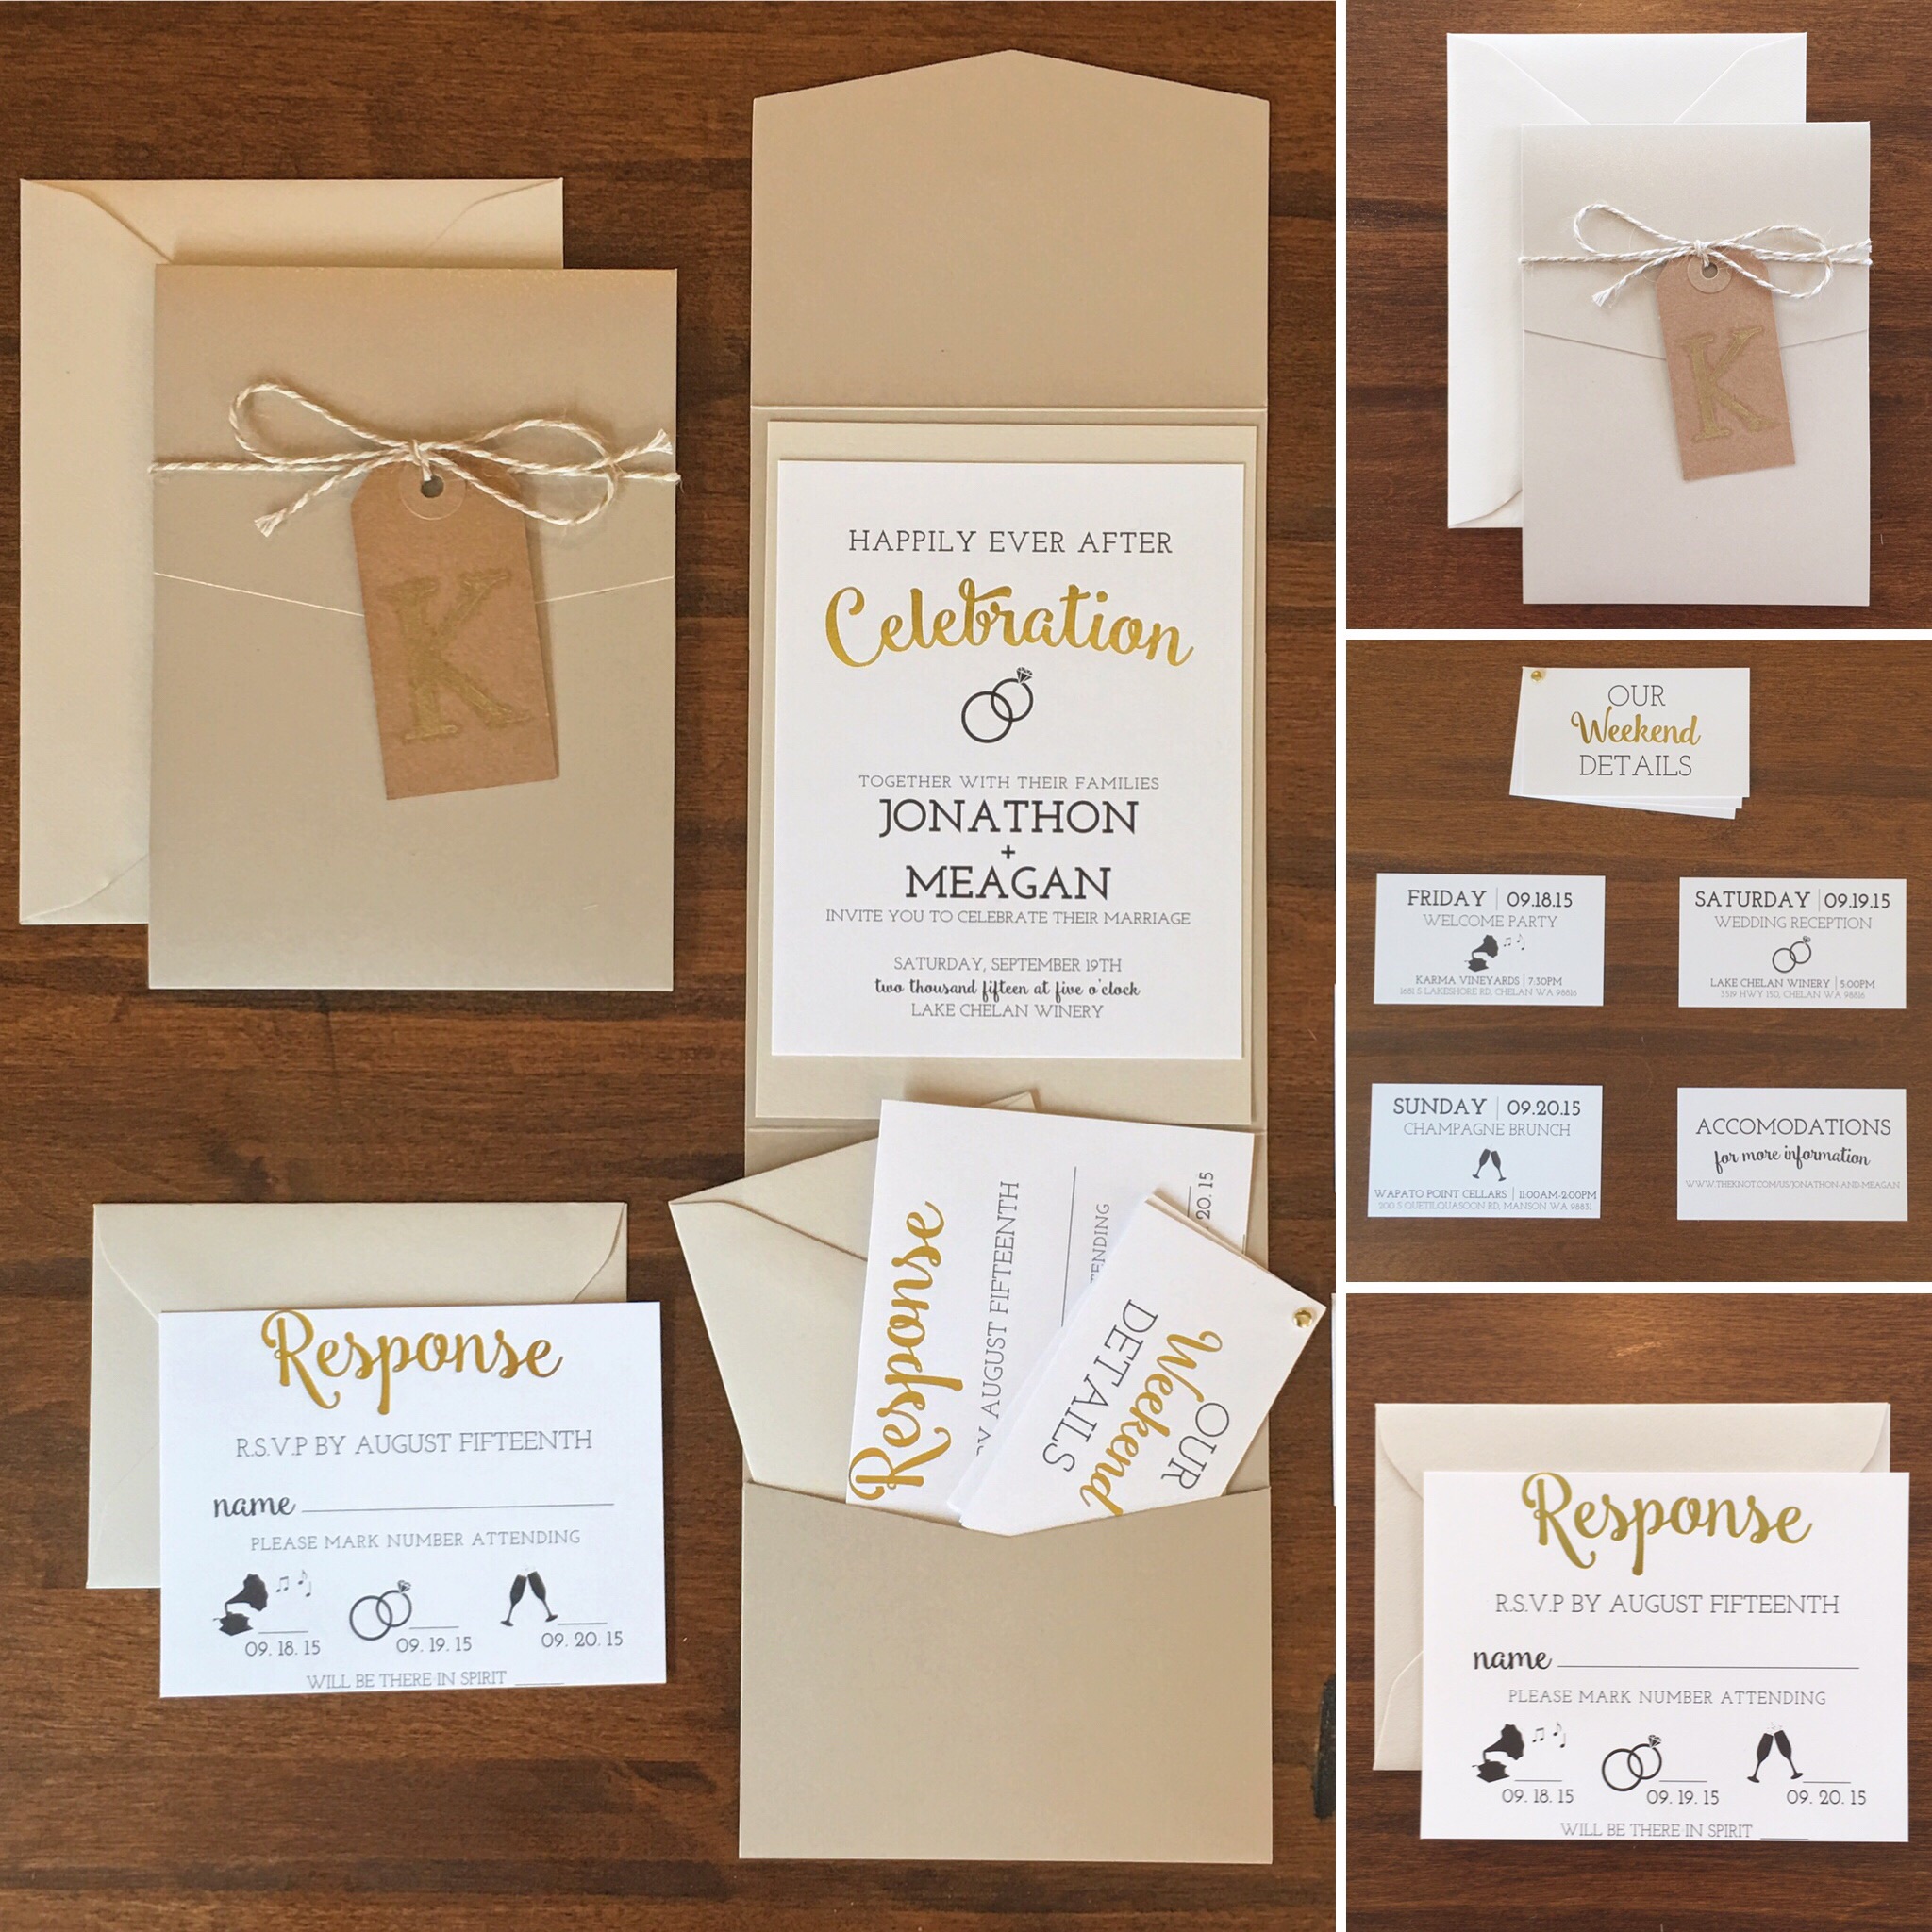
VOTE NOW!
/TOP TEN finalist + Cards & Pockets | DIY Design competition

Please head to the following link and vote for me, Meagan Kludt!
To read more about my Wedding Reception Invitations see my blog post HERE.

My wedding reception invitations included blood, sweat and tears. Literally.
I created my invitations start to finish.
First | I went to Pinterest. Of course. I compiled a long list of pins I liked. I then went through and decided what I liked about them. Then I paired them down to 5 key elements I wanted
Second | I ordered my pockets, envelopes and invitation card mat from cards and pockets. I sketched out my ideas for each piece, the main mat invitation, the response card, and the flip card of events. I then gave my sketches to my sister and she designed them on her computer.
Third | I researched a company that could print in gold foil. I found Kool Printing and sent them an email with my designs, paper sizes and timeline I needed them done by.
Fourth | I made a trip to Hobby Lobby and stocked up on all the items I would need to assemble my invitations.
I received my prints and pockets in the mail and started to assemble!


The invitations ended up costing me $5.80 each.
If I were to do them again here are my tips.


Here are a hand full of my winter favorites!!